Stop bathroom leaks in their tracks with our targeted repair guide. You’ll discover how to quickly identify leak sources, whether it’s your shower, faucet, or pipes, and get straight to effective repair solutions that will halt water damage and restore your bathroom’s integrity. No fluff, just actionable steps for bathroom leakage repair that will bring you peace of mind.
Key Takeaways
- Early identification of bathroom leaks can significantly reduce subsequent damage and entails examining fixtures like showers, faucets, and pipes for common leak indicators such as water stains and mold.
- Repairing leaks requires immediate action to shut off the water supply and may involve straightforward fixes like replacing worn washers or seals, or complex solutions for pipe leaks like using slip couplings for a permanent repair.
- Preventative measures are paramount in avoiding bathroom leaks, which include regular maintenance checks of plumbing systems and fixtures, proper application of sealants, and managing water pressure to maintain a healthy plumbing system.
Identifying the Source of Bathroom Leaks
Have you ever noticed water stains on ceilings below bathrooms, peeling paintwork, or rotting flooring near showers, or bathtub plugs and drains? These are common indicators of potential leaks. Bathroom leaks commonly originate near fixtures such as:
- showers
- radiators
- sinks
- toilets
A water leak, especially in hot and cold water systems, is one of the most frequently encountered types of water leaks.
Accurate identification of the leak source is a preventive measure against unnecessary damage from destructive exploration.
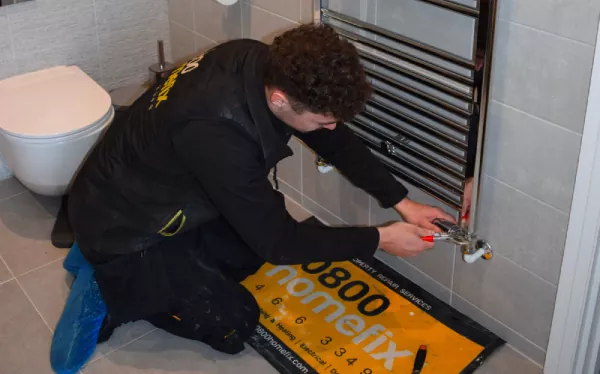
Showerhead Leaks
Showerhead leaks can be identified by dripping or pooling water from the showerhead, the leaking shower mixer valve, the hose, or the leaking shower tray. These leaks can be caused by worn or damaged inner seals, rubber washers, and a buildup of limescale or water residue in the shower valve. To prevent further damage, it’s essential to address the issue and ensure your shower tray is properly sealed and maintained.
Despite seeming minor, a shower leaking, particularly in the form of a leaking shower head or a leaking shower drain, can, over time, result in significant water wastage and potential damage due to a shower leak in the shower drain and the surrounding shower wall.
Faucet Leaks
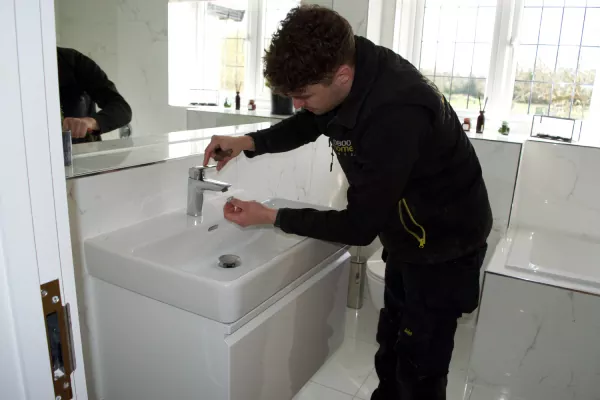
Faucet leaks are another common issue in bathrooms. These leaks may be identified by water dripping from the spout even when the handles are turned off. Common causes of faucet leaks include worn out O-rings, causing handle leaks, and deteriorated valve seats, leading to spout leaks.
Determining the type of faucet is a critical step towards initiating the appropriate repair process.
Pipe Leaks
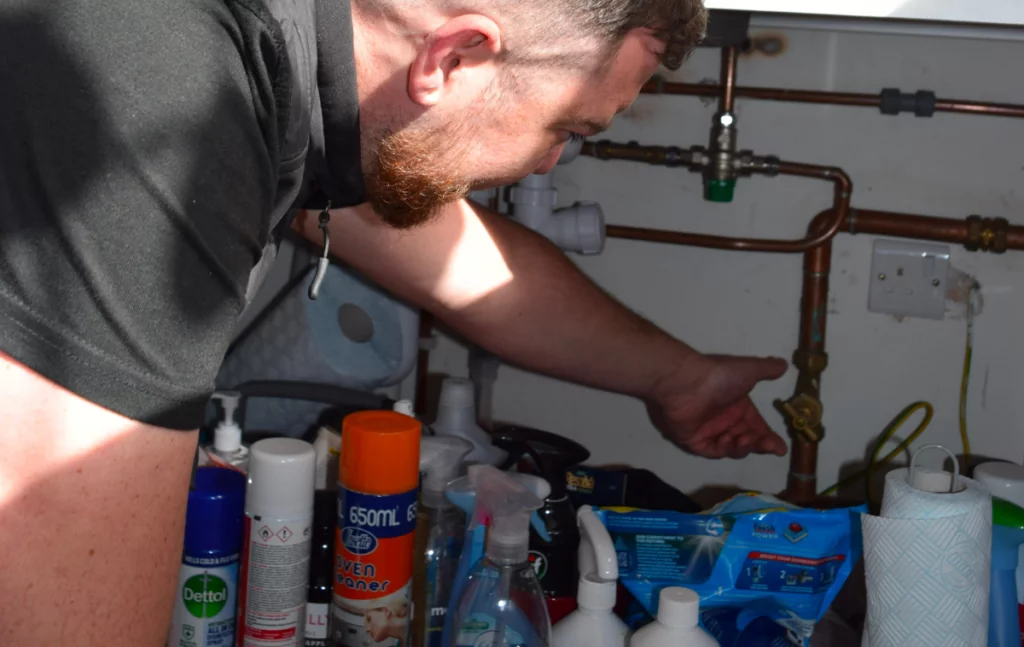
Pipe leaks often go unnoticed until significant damage has occurred. They can be detected by looking for signs like:
- Discolored water
- A decrease in water pressure
- Unusual sounds
- Water stains on walls and ceilings
- An increase in water bills
- The emergence of mold or mildew
- Damp or warped flooring
These are additional indicators of potential bathroom leak, toilet leaks, and issues with the waste pipe in the bathroom.
Inspections of pipes should be a regular practice, especially in older homes, to deal preemptively with leaks and mitigate damage.
Repairing Common Bathroom Leaks
Upon identifying a leak, quick action is necessary. Prevent further damage by shutting off the water at the nearest valve or the main stopcock. You should also relieve the pressure in the plumbing system by opening all taps connected to the leaking pipe or finding a bleed valve to drain the trapped water.
From there, maintenance and repairs, such as replacing faulty fixtures, pipes, or fittings, should be carried out promptly to prevent the initial stages of leaking from worsening over time.
Fixing Showerhead Leaks
To fix a leaky showerhead, one typically follows a few simple steps:
- Turn off the water supply.
- Clean the showerhead by soaking it in vinegar to remove dirt and limescale.
- If cleaning the showerhead does not stop the leak, inspect for worn washers and seals and replace them as needed.
Should leaks persist, you may need to replace the flow cartridge in the mixer valve.
Addressing Faucet Leaks
In addressing a leaking faucet, follow these steps:
- Deactivate the water supply.
- Disassemble the faucet handles to access the valve stem and internal parts for inspection.
- Replace worn out components like O-rings, washers, or the valve seat for a simple fix.
- If multiple parts are worn or you have a single-handle faucet, replace the entire faucet cartridge.
After replacing the necessary parts, clean the valves, reassemble the faucet, and turn the water on to test if the leak has been fixed.
Resolving Pipe Leaks
Pipe leaks resolution tends to be a bit more complex. Before attempting any pipe repairs, ensure the water supply is turned off and pipes are drained to prevent further leakage during the repair process. For a permanent repair, replace the damaged section with a new one, using joiners like slip couplings or PEX fittings for a secure, watertight connection.
If you’re dealing with a minor leak, temporary fixes such as silicone tape, epoxy putty, or a rubber sleeve with a clamp can help until a permanent solution can be implemented.
Maintaining Watertight Seals in the Bathroom
Maintaining watertight seals is as important as fixing leaks when it comes to preventing future leaks. This involves:
- Using the right sealant for the job
- Preparing the surfaces properly
- Applying the sealant correctly
- Ensuring the sealant is maintained over time.
Although often overlooked, maintaining watertight seals can spare you significant hassle and expense in the future.
Proper Grouting Techniques
Maintaining watertight seals in a bathroom is greatly dependent on grouting. It is used between tiles to maintain their placement, prevent movement, and avoid leaks by cushioning the tiles and filling gaps.
Improperly grouted or cracked tiles can lead to leaks, highlighting the importance of proper grouting for bathroom floor integrity.
Silicone Sealant Application
Another key component in maintaining watertight seals is the application of silicone sealant. Here are the steps to follow:
- Before applying new sealant, ensure the area is clean and free from old sealant, dirt, or grease.
- Apply the sealant.
- Use a sealant applicator to smooth the sealant edge.
- Remove any soap residues with a plant sprayer with water.
Such practice secures a watertight seal and aids in preventing future leaks.
Replacing Worn Seals
Over time, seals can wear out and become less effective at preventing leaks. Discolored or moldy sealant, a toilet that moves when sat upon, and signs of wear on rubber washers in showerheads, all indicate that seals may need to be replaced.
After removing old sealant, the area must be cleaned thoroughly with a solvent like white spirit to ensure that it is free of any debris, dust, or old sealant residues. Applying new sealant carefully to all necessary areas ensures a watertight seal and helps prevent leaks.
Dealing with Hidden Bathroom Leaks
Hidden bathroom leaks can be particularly challenging to deal with. They often occur in inaccessible locations behind walls or under floors, making them difficult to detect and repair. However, even hidden leaks can give off some signs. Watch out for:
- Water stains
- Mold
- Damaged walls or floors
- Wet patches on walls and ceilings
- Bubbling or staining wallpaper
- Plaster erosion
If you notice any of these signs, it’s important to investigate further and address the issue as soon as possible.
Should you suspect a hidden leak, enlisting a professional water leak detection expert is a critical step.
Leak Detection Methods
Professional leak detection experts use a variety of methods to find hidden leaks, including:
- Thermal imaging cameras that identify leaks in hot water pipes under floorboards, concrete, and behind walls
- Acoustic detectors such as listening discs, ground microphones, and soil probes that help locate leaks through various surfaces
- Water meter tests, a non-invasive technique, to check if the meter continues running even when all water is shut off, which would suggest a leak
These methods are effective in Tracing and Accessing leaks in different situations.
Accessing Hidden Leaks
Once a hidden leak has been detected, the next challenge is accessing it for repair. This may involve removing floorboards or tiles around the affected area after confirming the source. In some cases, tiles may need to be removed from shower walls if the leak cannot be addressed through grout and shower pan sealing. These tasks are best left to professionals to avoid causing more damage.
Professional Repair Services
Dealing with hidden leaks necessitates professional repair services. These professionals can:
- Locate and fix leaks efficiently
- Offer immediate remedies to prevent further issues such as mold and foundational damage
- Provide valuable advice on design strategies for more effective future leak management, such as leaving access points and installing isolation taps above the floor.
Preventive Measures for Bathroom Leaks
It’s always more beneficial to prevent plumbing leaks than to contend with their aftermath. This involves regular maintenance, including checking plumbing systems, fittings, fixtures, and monitoring water usage patterns. By catching potential issues early, you can avoid the hassle and expense of major repairs.
Routine Fixture Inspections
Routine inspections ought to encompass checks on plumbing fixtures, pipes, and appliances for any visible signs of leaks or water damage. Inspecting taps, toilet pipe wall covers, and areas under sinks can reveal early signs of wear or damage that could lead to leaks. These regular checks can help you identify and address issues before they become major problems.
Plumbing System Maintenance
Plumbing system maintenance on a regular basis also plays a role in preventing leaks. This includes cleaning showerheads to remove dirt, grime, and limescale, and properly clearing drains to avoid clogs.
Conducting routine inspections of plumbing appliances and hoses for signs of wear or damage can also help in the early detection and prevention of leaks.
Water Pressure Management
Lastly, water pressure management is a key strategy in preventing leaks. Both high and low pressures can contribute to plumbing system failures. Monitoring your water pressure with control devices and a pressure gauge, and using a pressure regulator if necessary, can help you maintain a healthy plumbing system and prevent leaks.
Summary
We’ve covered a lot of ground in this blog post, from identifying the source of bathroom leaks to repairing them, maintaining watertight seals, dealing with hidden leaks, and taking preventive measures. By paying attention to your bathroom’s health and promptly addressing any issues, you can prevent serious damage and save a significant amount of money in the long run. Remember, prevention is always better than cure!
Frequently Asked Questions
How do I stop my bathroom from leaking?
To stop your bathroom from leaking, you may need to replace the shower curtain, re-caulk around the tub or shower door, and consider replacing shower door gaskets or the entire shower or bathtub if the problem is severe. In some cases, you may also need to replace grout, silicone, or tiles to fix the leaks.
What to do if water leaks through the ceiling from bathroom?
You should hire a licensed plumber to repair the leak and prevent water damage. Water leaking through the ceiling from the bathroom could be caused by a clogged drain or a leaking gasket at the shower drain.
How can I find out where my shower is leaking?
You can find out where your shower is leaking by plugging the drain with a rag and switching on the water, then checking the underside of the drain for any water coming through. If water is visible, you know there is a leak around the drain.
What causes faucet leaks?
Faucet leaks can be caused by worn-out O-rings, deteriorated valve seats, or damaged cartridges. These components can deteriorate over time and lead to leaks.
How can hidden leaks be detected?
Hidden leaks can be detected by professional leak detection experts using methods like thermal imaging cameras, acoustic detectors, and the water meter test. These tools help to accurately locate and identify hidden leaks.